The more you get going with Flylighter, the faster it gets at capturing the information you need. After you have your favorite Flows set up with autofilling properties, you can make things even faster with Instant Capture.
Instant Capture is exactly what it sounds like: instead of needing to open up Flylighter, select your Flow, and then fill things out before capturing a page to Notion, you’ll be able to simply choose your Flow and let Flylighter handle the rest.
Specifically, this will get you down to either two mouse clicks (open Flylighter → select Flow) or one Keyboard Shortcut.
This is perfect for things like a Read Later Flow, where the entire point is that you don’t have time to process this information right now.
Copy link to headingEnable Instant Capture for a Flow
There are two ways to enable Instant Capture for any given Flow.
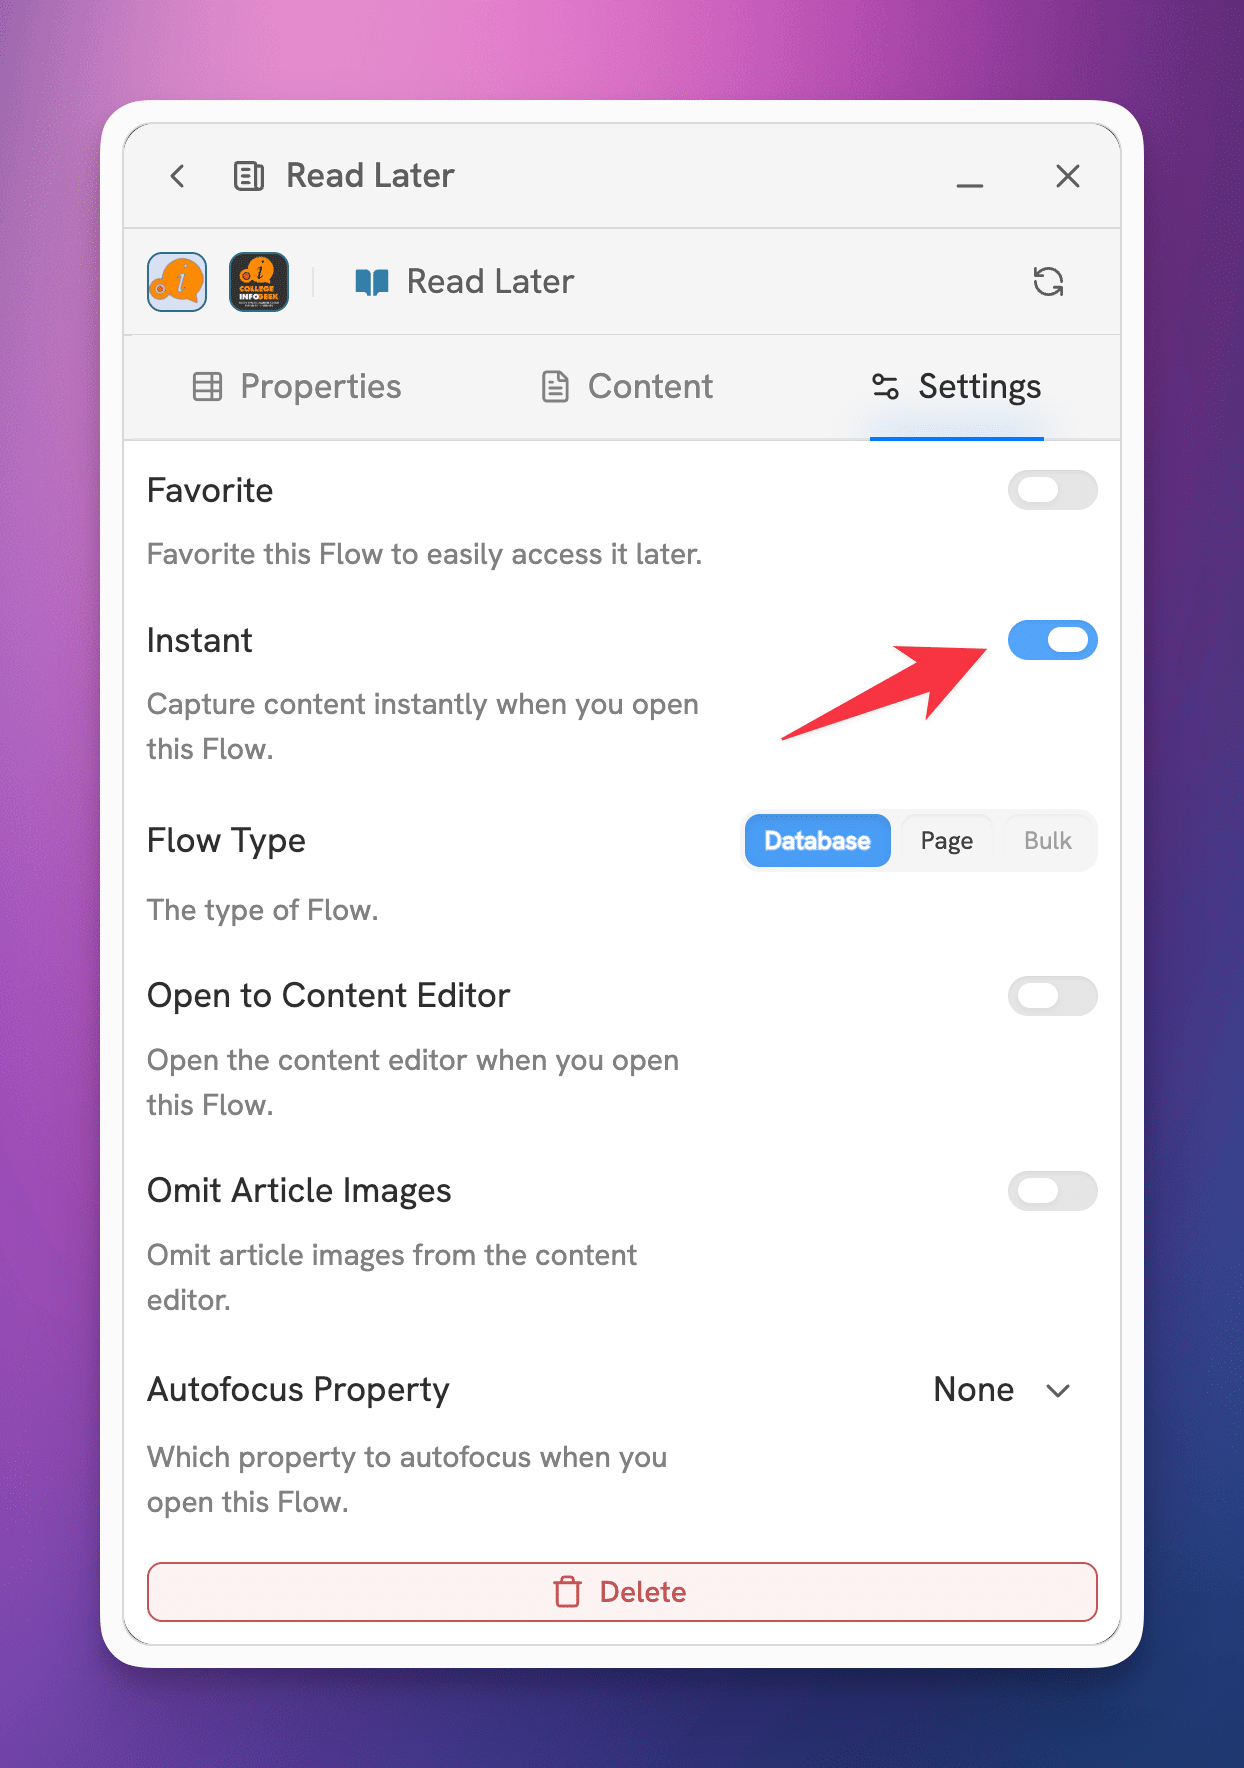
In a Flow’s Settings Tab
Click on the Settings tab for any Flow and you’ll find a toggle right near the top for changing the Autofill setting.
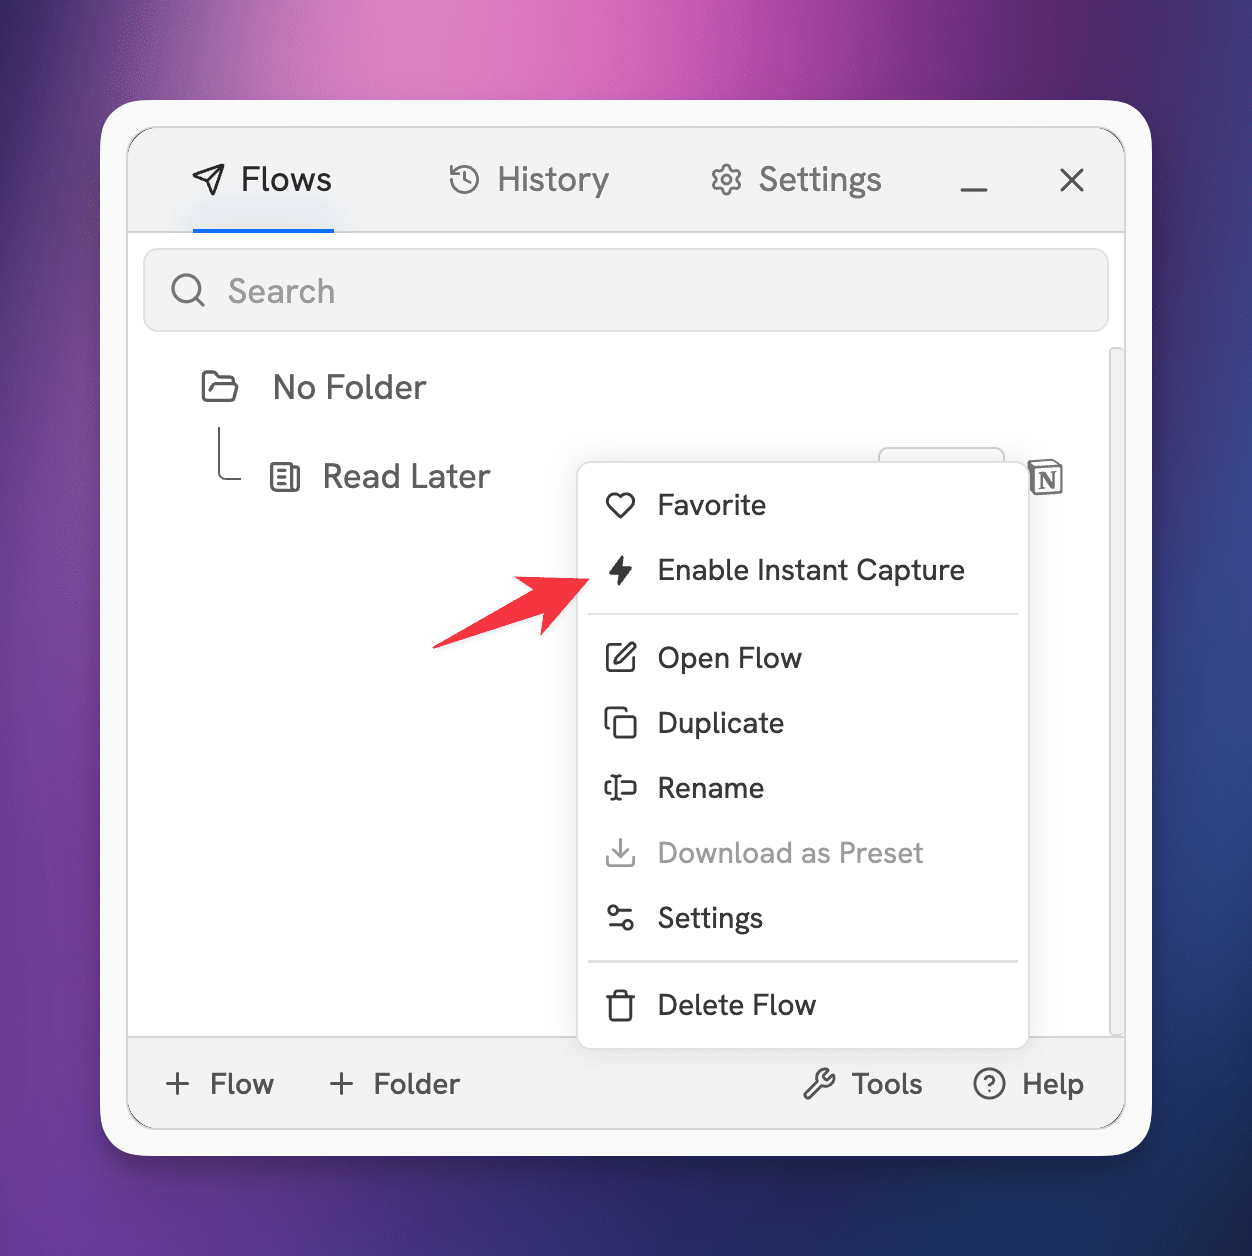
Via the Right-Click Menu in the Flow List
If you’d rather save a click, you can right-click any Flow from the main Flylighter window and click Enable Instant Capture instead.
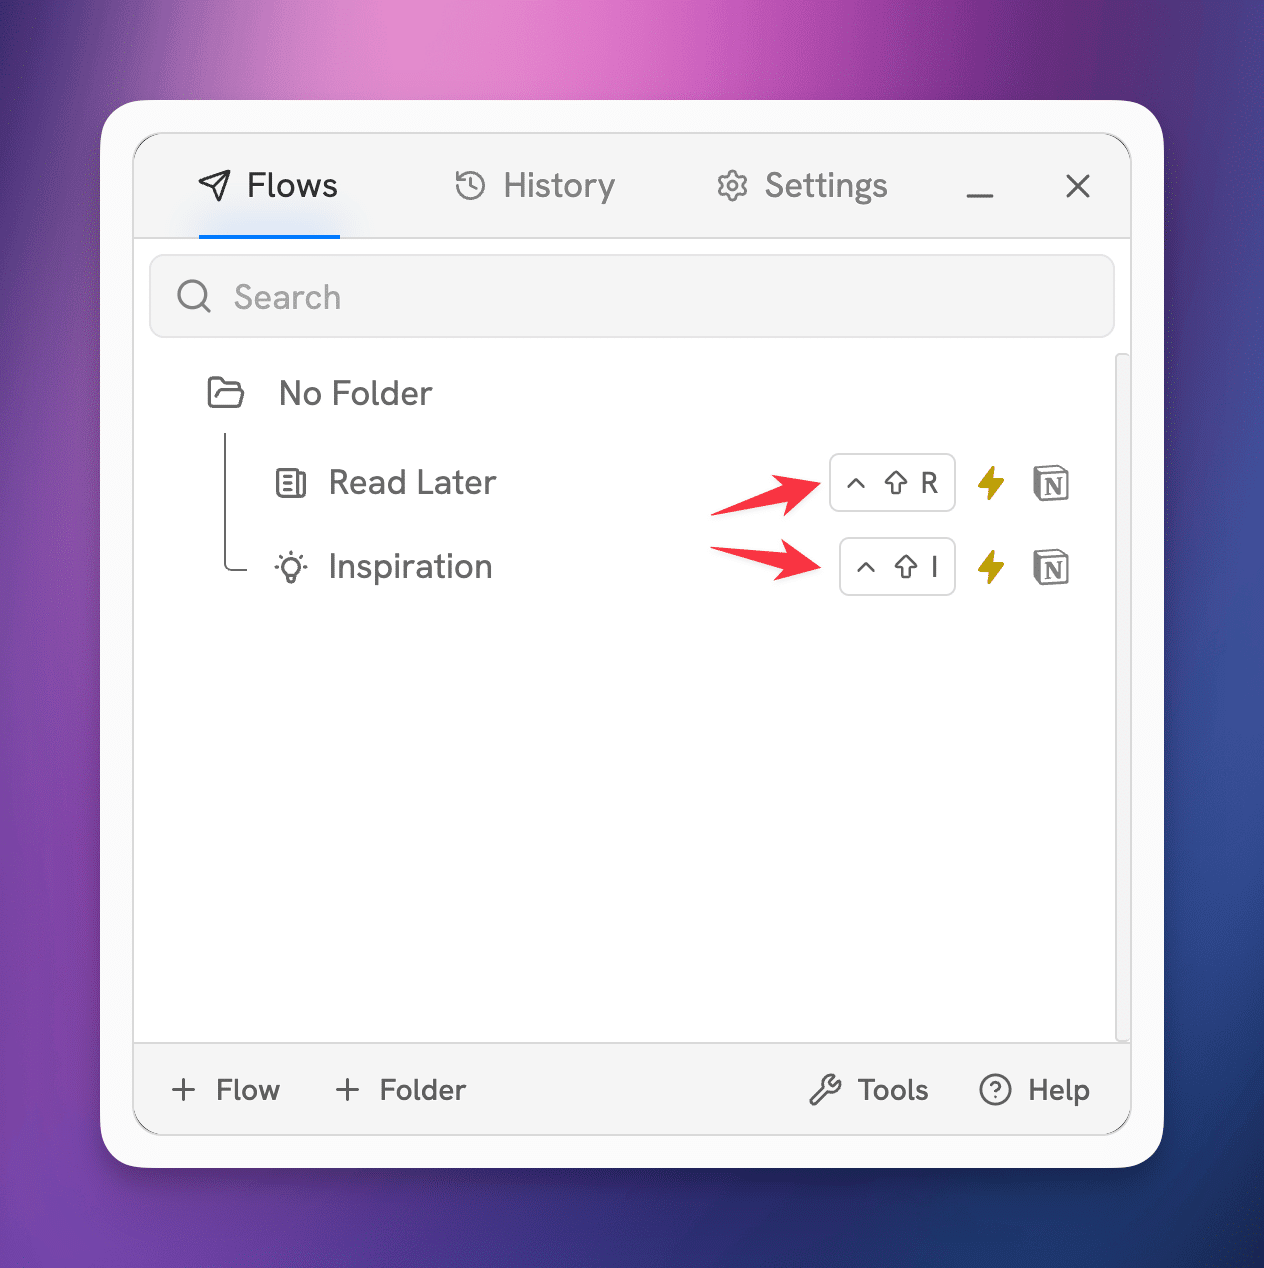
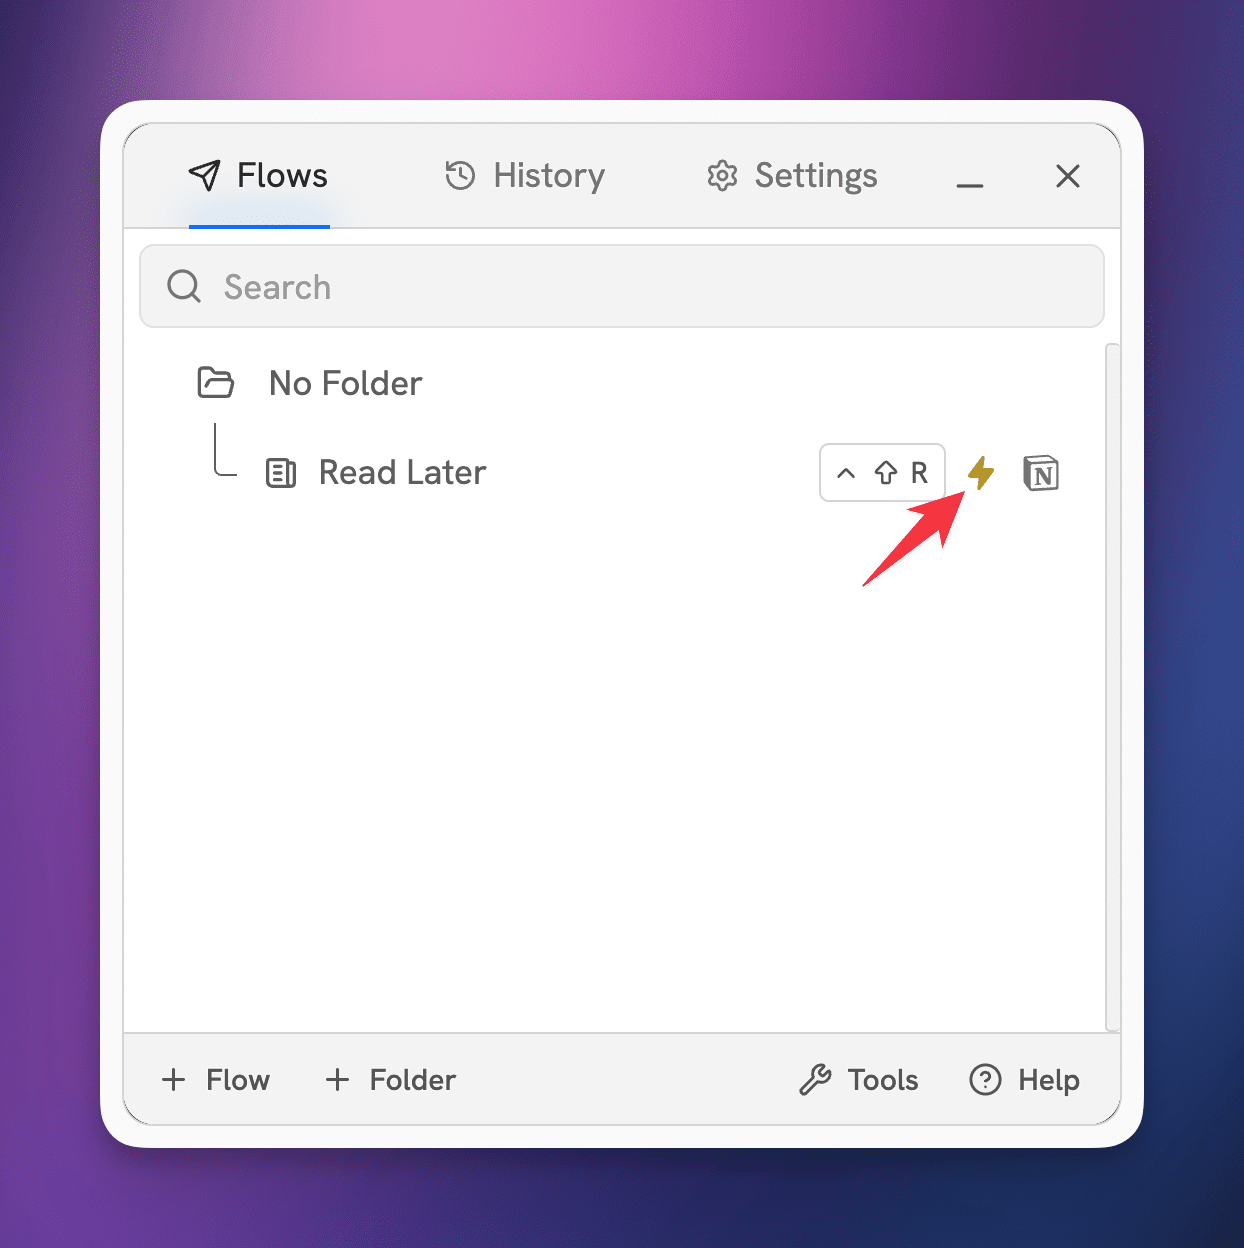
In either case, afterward, you’ll see a ⚡️ symbol next to the Flow’s name.
Set Up a Keyboard Shortcut
If you want to hit maximum capture speed, you might want to set up a Keyboard Shortcut.
When you do this, it’s on a per-Flow basis—for example, you might set up a Read Later Flow with ^+Shift+R, but an Inspiration Flow with ^+Shift+I. You can set up as many Instant Capture Flows as you can find new keyboard combinations for!